First off, you've got to buy
this pattern from Scientific Seamstress. They are the Easy Fit pants (easy to fit and easy to sew), there are options to add ruffles and cuffs to the bottom of the pants and they don't have a side seam for extra comfort. It doesn't take much more than an hour to sew and complete.
Before you cut, there is ONE change to make to the pattern to swap out the elastic for drawstring. I added 1/4 inch to the top of the waist. Make sure you take this into account when you decide on your length. Where my length would have been 22", it is now 22 1/4". (I am using 1 1/4" drawstring elastic, which you can buy at your local fabric store)
After you sew the crotch and inseam together, zig zag stitch or serge the top edge.
Now, decide how much elastic you want to use. You can guess on the larger side, because you can always use the drawstring to cinch it down. Cut your drawstring elastic to desired length. Fold in half. Sew raw edges together.
Press raw edges outward and zig zag stitch over the ends.
This makes it pretty and flat.
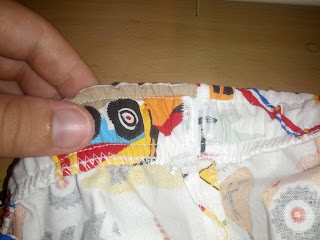
Now add two buttonholes. One on each side. I started mine about half an inch down from the top and made it about 2/3" long. I used fray check. If you do this, use it on the inside so it isn't against your child's skin. Then use your seam ripper to open your buttonholes (I totally forgot to do this step and it is more difficult once the pants are all sewn so... do it now!)
Fold your elastic in half and mark the front and sides (the back is where your seam is from sewing the ends together). Find your sides on your pants and mark them with pins also. Match up your front, sides and back and pin together.
Stretch your elastic so it is the width of the pants. I used 8 pins all the way around. One halfway between the front and side, side and back, etc. Use a zig zag stitch to sew the top of your elastic to the top of your pants (
It will look like this when it is done (sorry, its a different pair of pants, but you get the picture)
Now, turn your waistband over the full length of the drawstring elastic (1 1/4")
Stretch out your pants and sew a straight line below the drawstring and above the drawstring. Be careful not to catch the drawstring at any point, as it will not cinch if it is sewn to the pants.
This is how the inside will look when you are done.
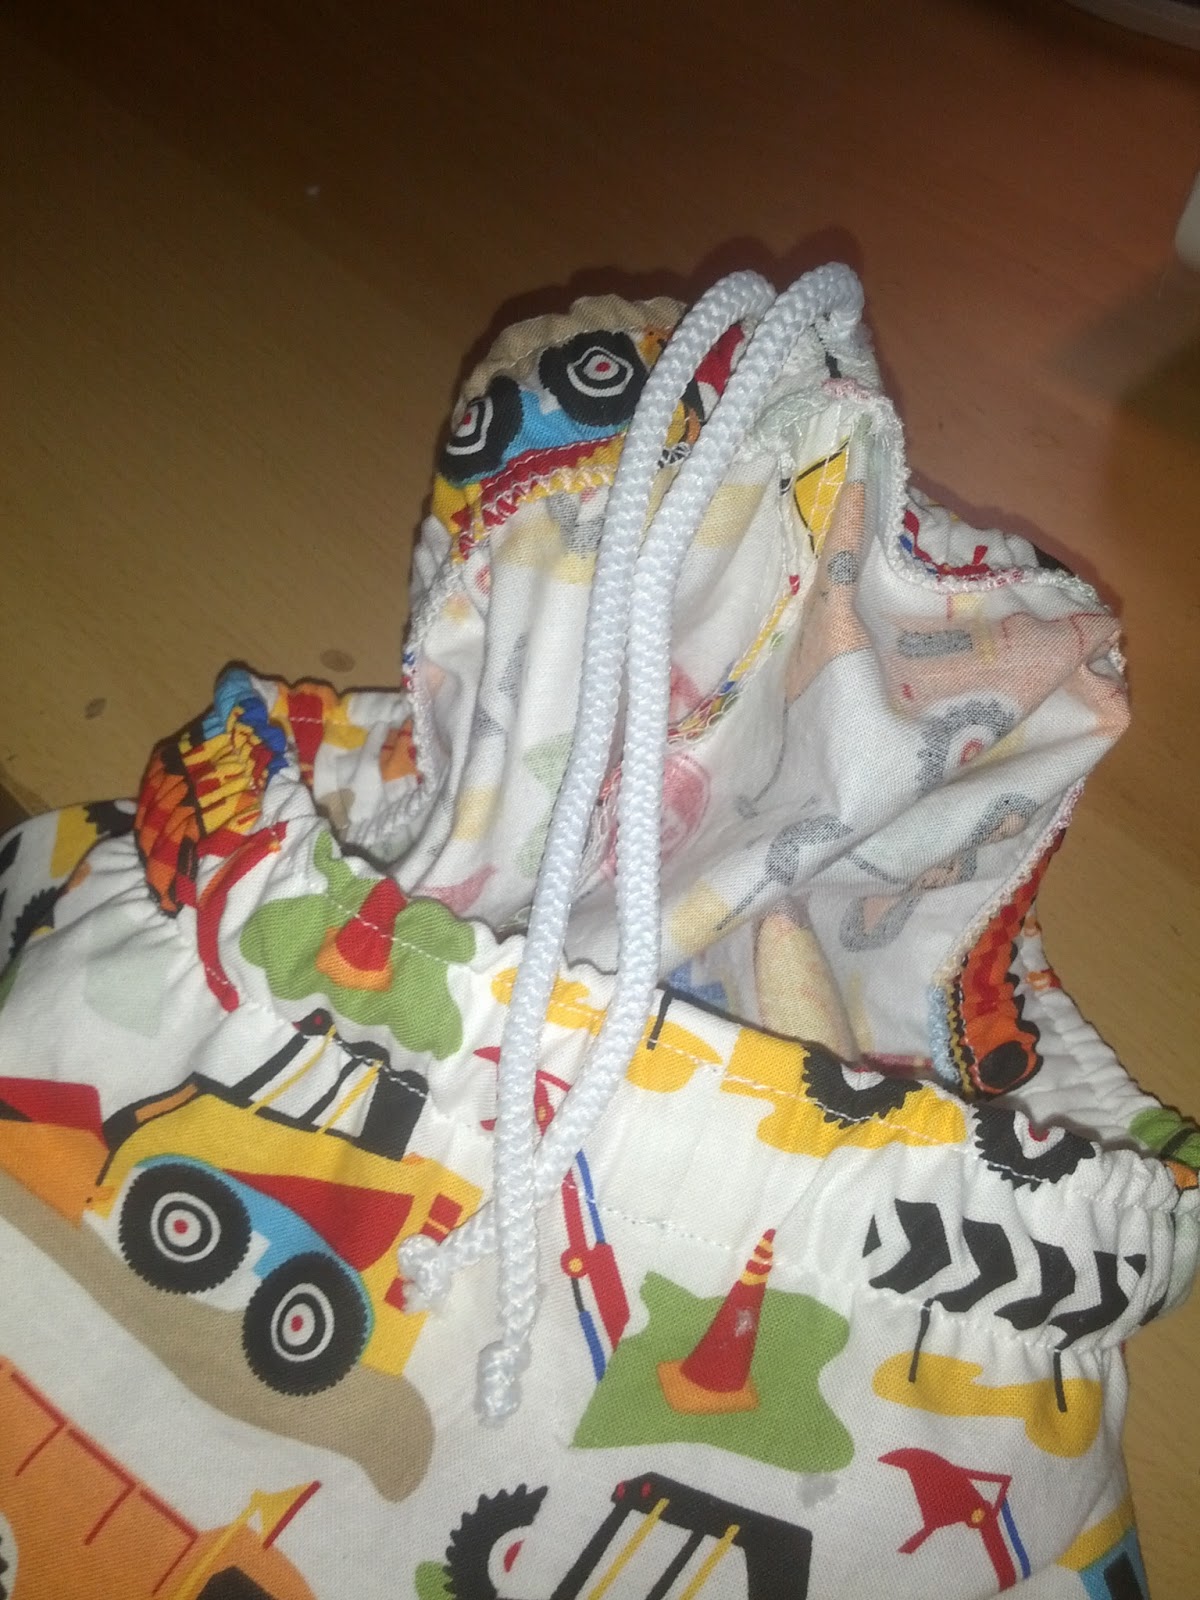
Use a crochet hook (you could use the prongs of a fork if you don't have one) to pull the drawstring out through the buttonhole.
When you pull the button strings out of each side, it will look like Mickey Mouse ears. Cut one ear. Then pull the drawstring through so that you have drawstring coming out of both sides.
Knot the ends. You may want to singe the end with a lighter. I knotted mine a few times so it won't get pulled back into the buttonholes. If this is a major concern, you could knot your strings together to make a loop in front.
Voila! All done! And the easy fits will now fit even the hardest to fit child :)
Happy sewing!


No comments:
Post a Comment