
My solution has been - zipper in the back!
Fabulous idea, but last year I made three pairs all at once, and tried them on her after sewing them.... to find that they didn't fit. I really wish that I had taken pictures at the time but it didn't occur to me.
Now when I say they didn't fit, I mean - they didn't fit. First off, they were way too long. I had to safety pin about 3 inches off of each side so it didn't fall off the bottoms of her feet. I also discovered, after the first time putting her to bed in a set, that she could climb right out of the neck hole.
I'm sure my child isn't the only one pulling night-time Houdini tricks, and with the cold weather, I'm sure we can agree we want them to wake up in the same outfit they went to sleep in. So..... Here is a tutorial on how to take the Peek a Boo Pattern Shop classic footie pajamas and convert them from front zipper to back zipper.
The first difference will be how you cut your pieces. Make sure that you have two back pieces and that your front piece is one piece, cut on fold.
 |
| These are the back pieces. There are two, cut where the fold would normally be. |

For step 3, sew the point of the crotch to the front piece, matching middles.

Press back pieces apart. Center zipper on this seam.
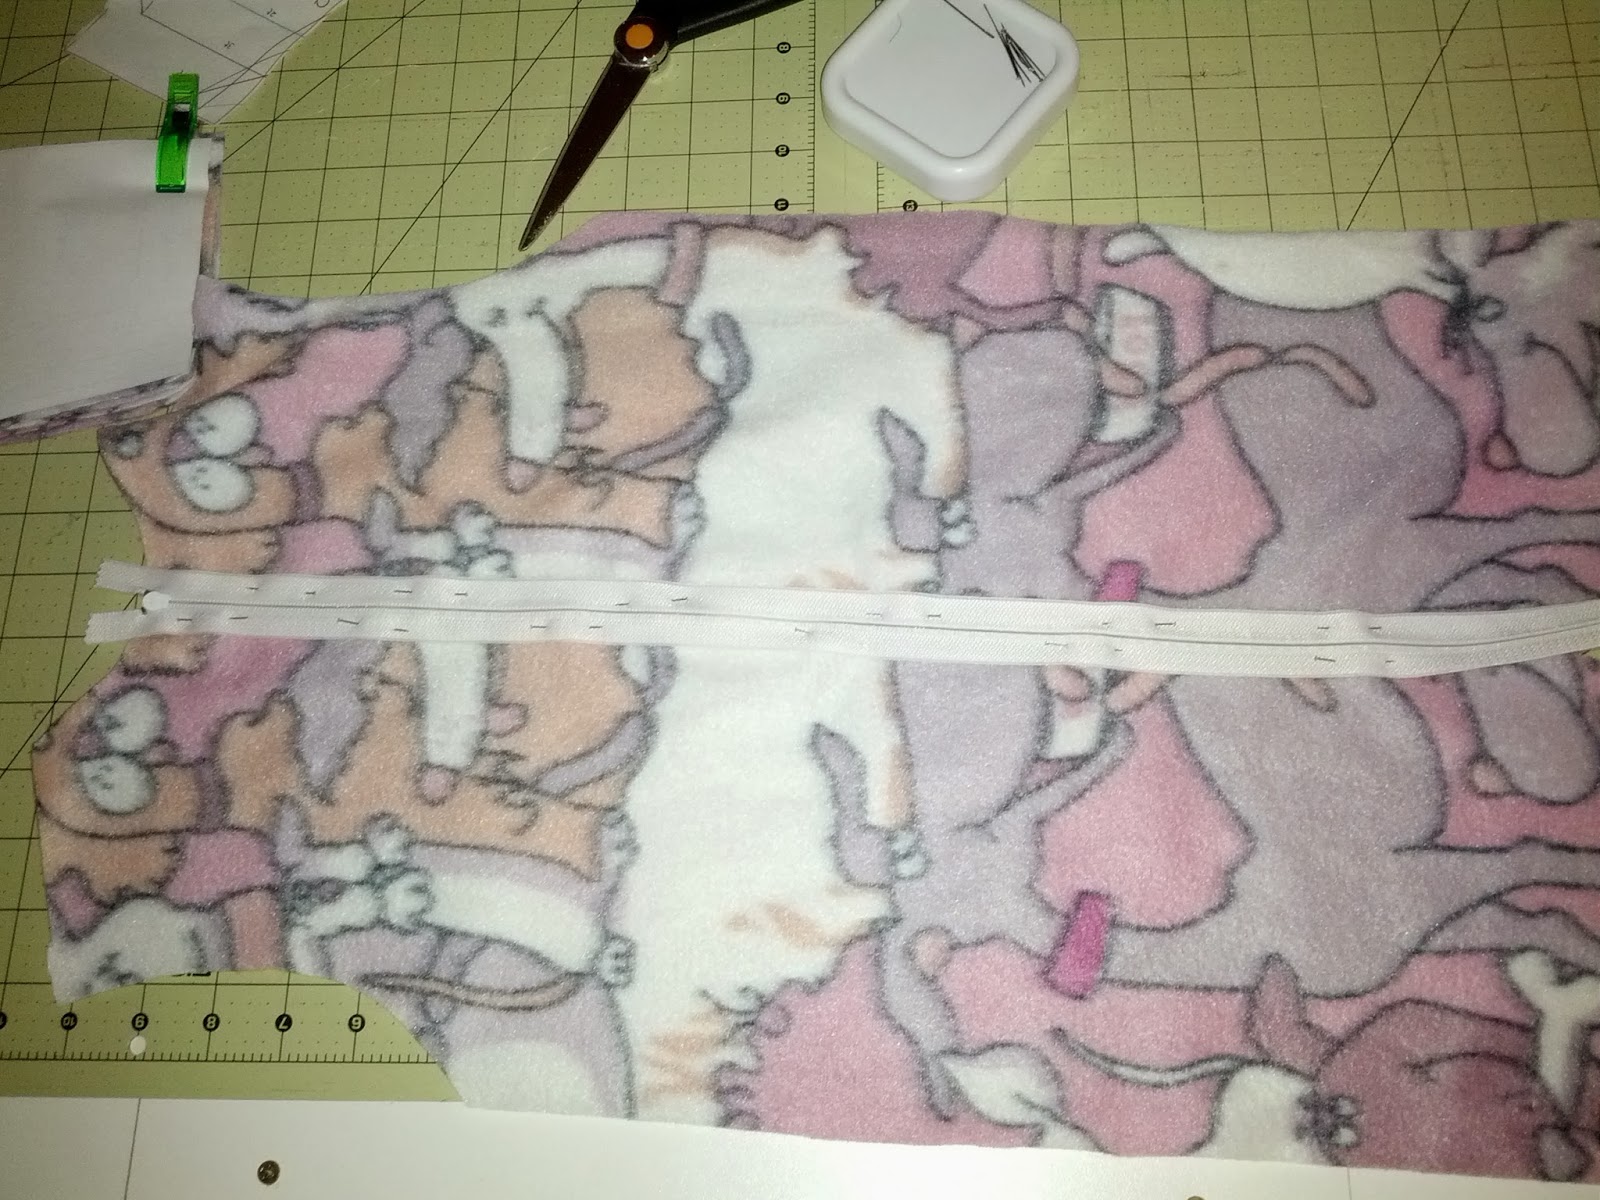
Sew around zipper (sewing fabric sides of zipper to the pajamas).

Seam rip basting stitch.

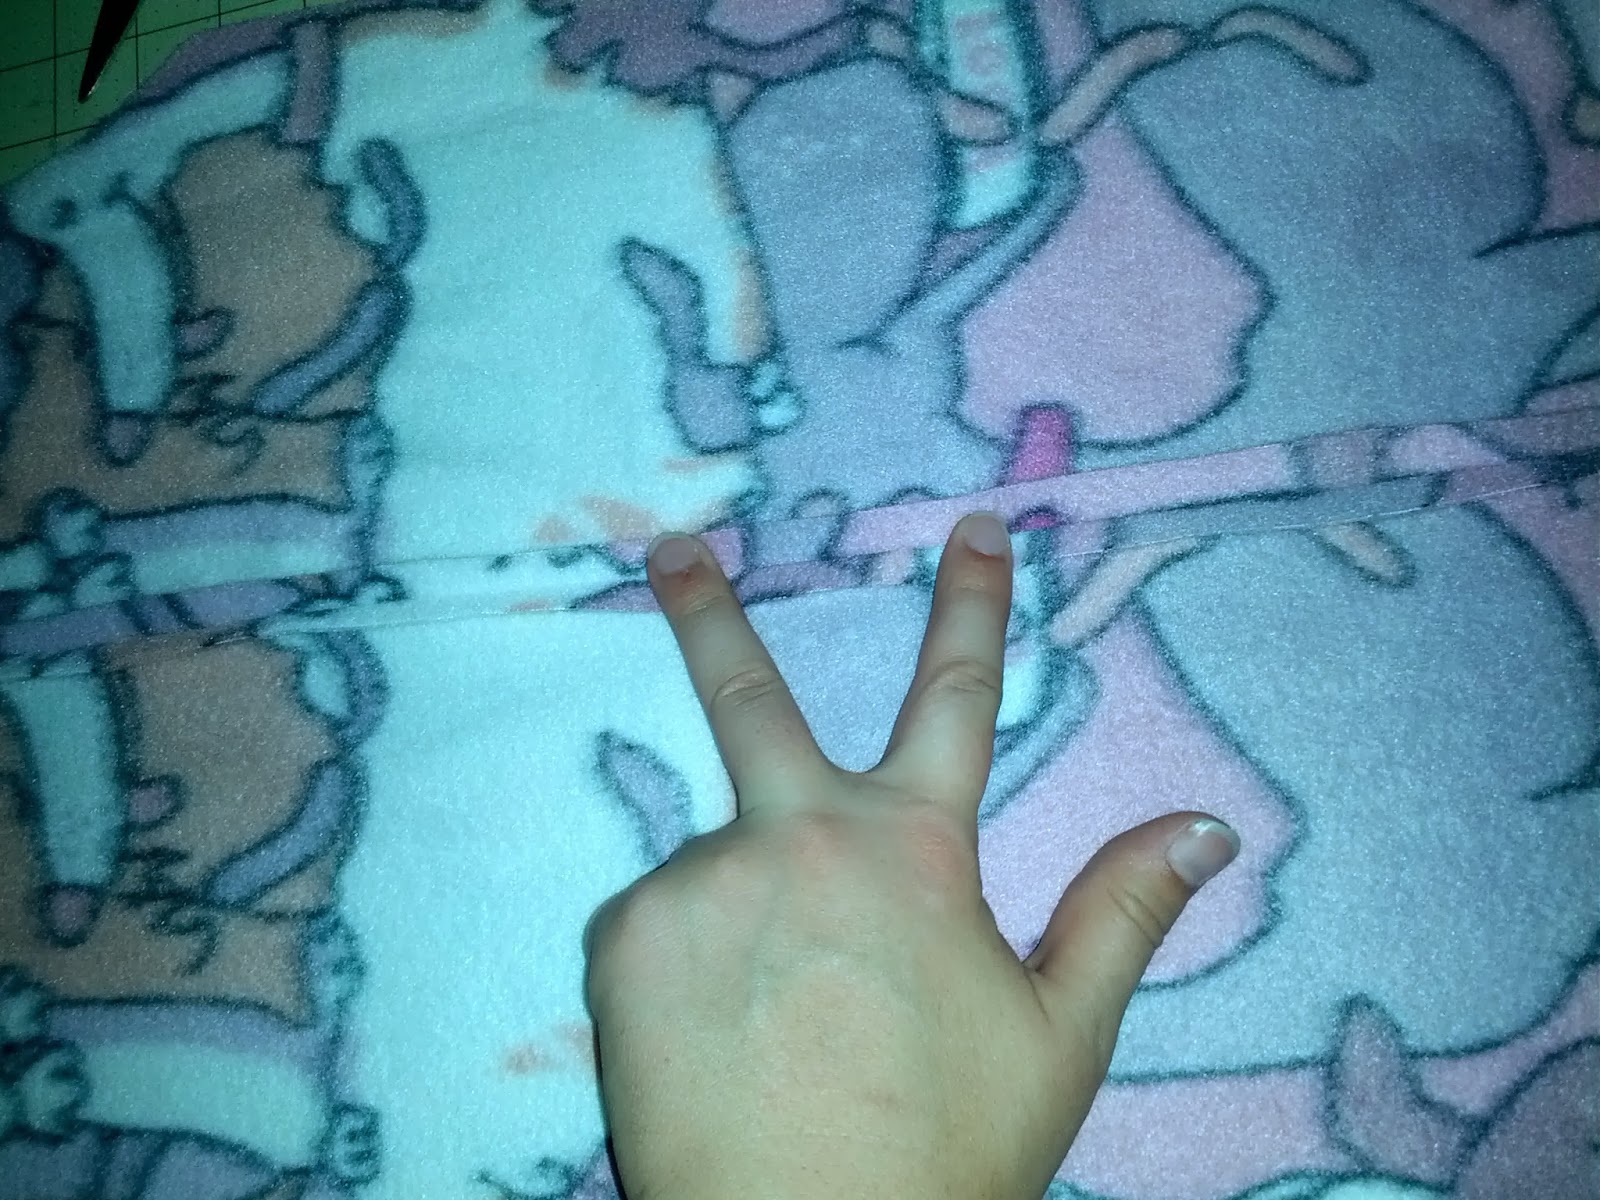
Top stitch around zipper. Mine does not look pretty at all, but I definitely wanted them to be functional, so I didn't mind! Catch up at step 13.


I did not alter my neck ribbing at all from the original pattern. The only thing I omitted was sewing the angles where the front center would be.
Please let me know if you have any questions!!!!


 |
| Aha, zipper in back! |


 |
| We are in the bunny ears phase! |
 |
| This was the full zip version |
No comments:
Post a Comment